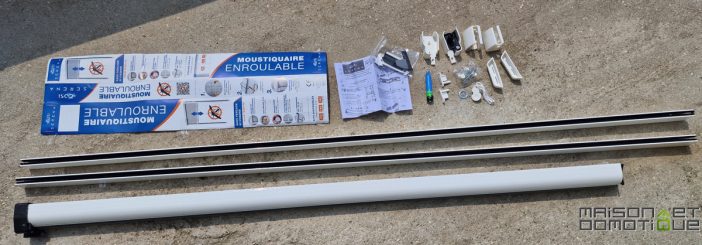
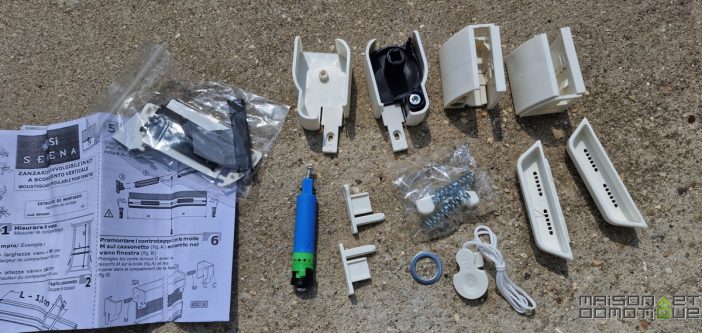
As I've already mentioned, while summer and warmth are a favorite in my region, mosquitoes are also a common problem, proliferating in large part due to the region's numerous bodies of water. Fortunately, this population has been significantly reduced over the past two years thanks to the excellent Biogents mosquito traps, which tackle the problem at the source. But since two precautions are better than one, we've also installed mosquito nets, particularly on bedroom windows, so we can sleep with the window open in the summer without bleeding. I recently had the opportunity to install a roll-up mosquito net, which doesn't require any drilling into the window (or the wall). It's a very simple installation, but the result is clean, practical, and, above all, effective! I invite you to learn more about its installation. Unpacking the Roll-Up Mosquito Net This roll-up mosquito net is available in several sizes, depending on the dimensions of your window: 100×170, 140×170, and 160×170. The models can of course be cut to fit any window, but you should choose the model closest to your dimensions.My window shown here is 120×140, so I opted for the 140×170 model. The roll-up mosquito net comes in a compact but long tube. Inside, you'll find all the necessary components for assembly, as well as comprehensive assembly instructions, including a link to an installation video.Rest assured, even though the kit contains many components, assembly remains simple and is well explained in the instructions.
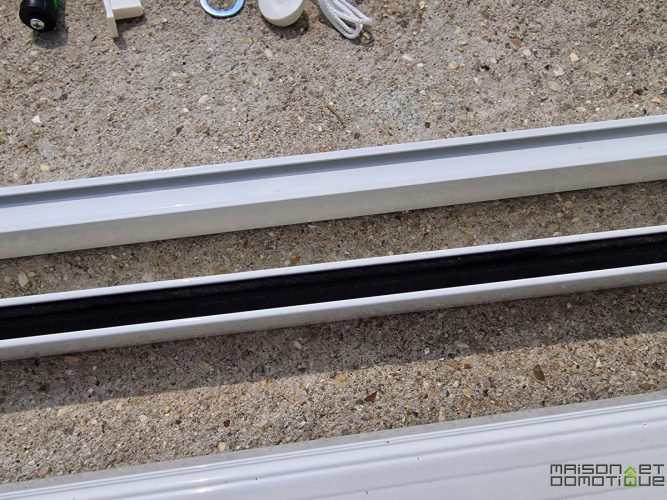
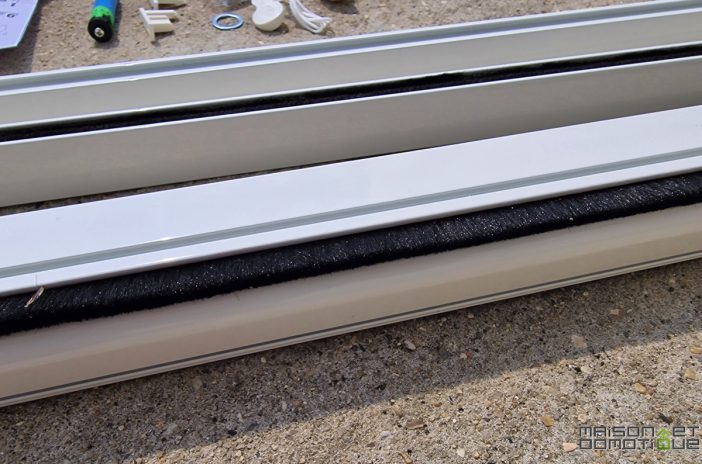
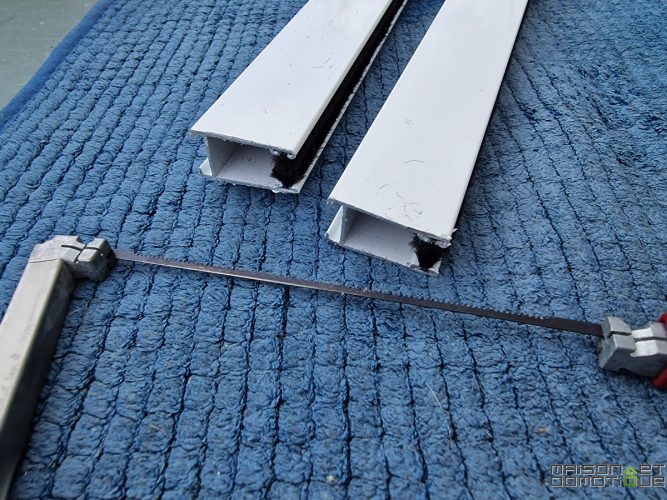
There are two aluminum slides into which the mosquito net will slide. Brushes on each side help prevent dirt and other insects from entering.
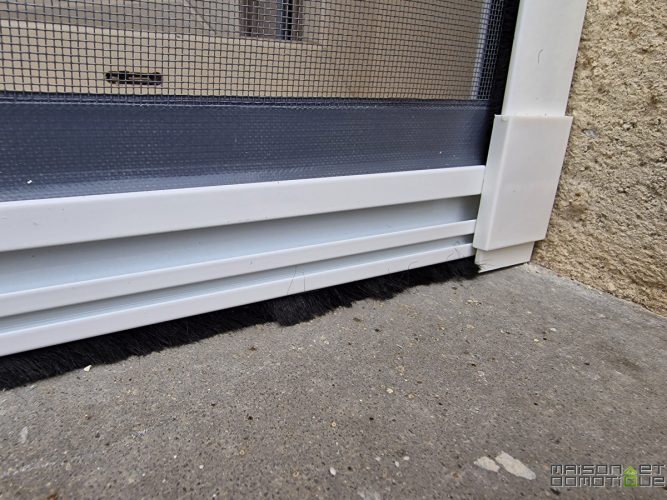
The bottom of the screen is equipped with the same system, which will then fit flush with the window sill.

As it is, I admit, it's difficult to see how it works. So let's move on to installation.

Installing the Roll-Up Screen
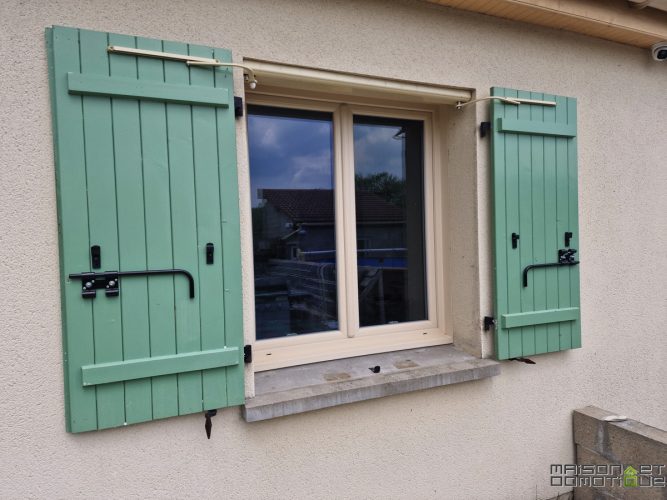
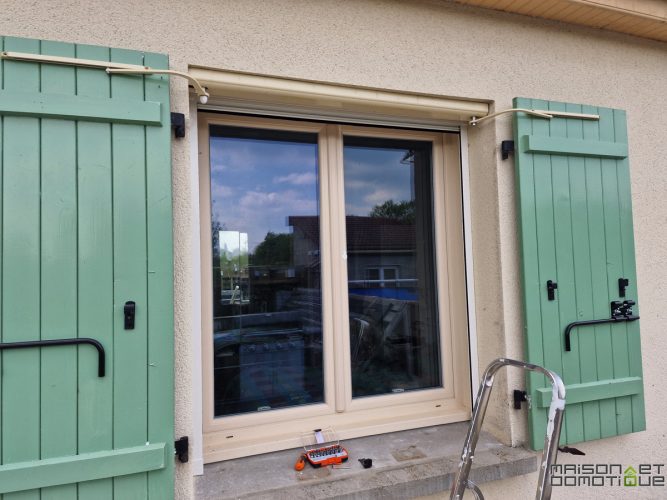
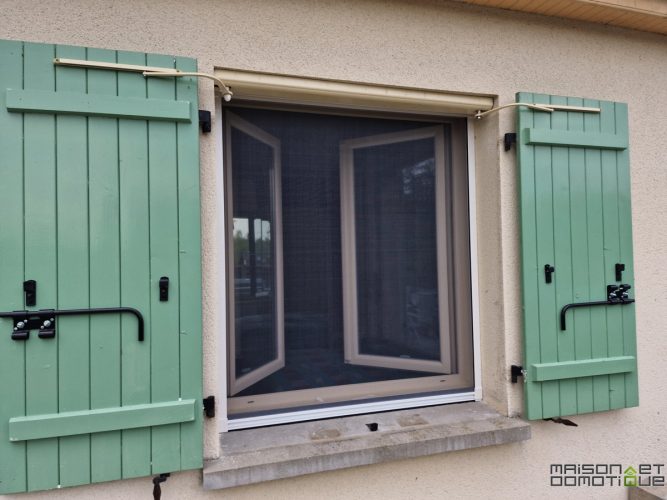
The roll-up screen was installed on this type of window:
Here I have a
motorized swing shutter system
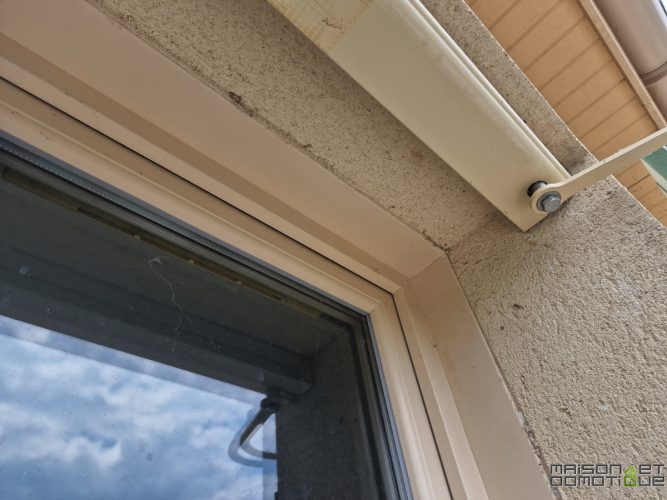
, which I showed you a few years ago (and which still works perfectly ;-). But most importantly, I still have space between the window and this system to install the roll-up screen, which requires 4.6 cm of clearance.
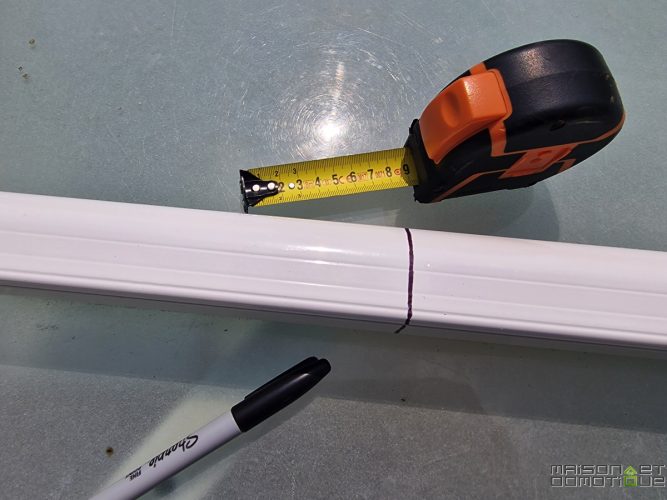
You must start by taking the measurements of the window, and deduct a few centimeters as indicated in the installation instructions, to leave room for the components to be assembled.
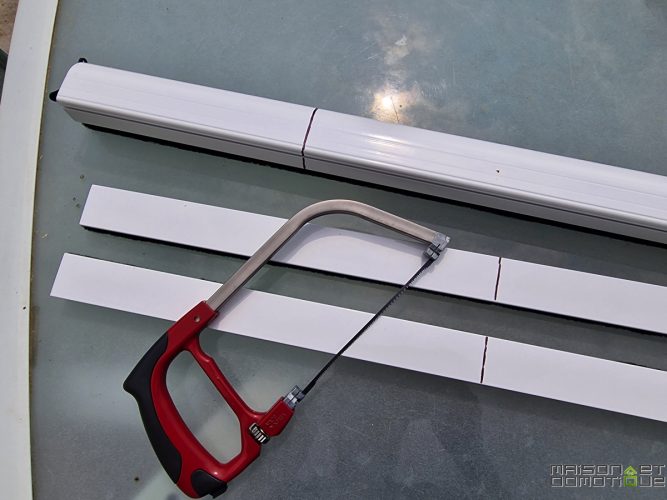
We then take measurements for the width of the window, but also its height. A simple hacksaw will suffice to cut everything to the correct dimensions. Be careful to cut the correct side of the mosquito net, as indicated in the instructions.
It only takes a few minutes to get our elements to the right size. Even the mosquito net inside the tube is neatly cut: Once the elements are the right size, all that's left is to assemble the different parts, including the end of the roller, which incorporates a brake:The mechanism is inserted into the mosquito net tube, neatly finishing the end:
Then, the cord to pull the curtain is inserted, as well as the handles that will lock the curtain in the lower position. These elements simply slide into the small groove in the curtain:
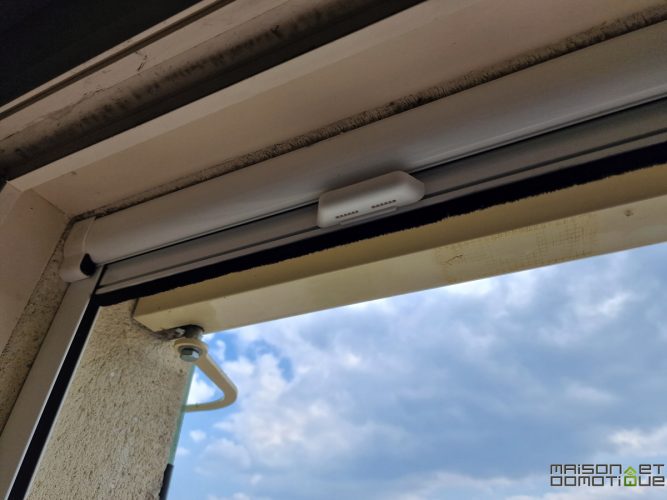
Then, the spring is inserted on each side of the blind: this system will exert a certain amount of pressure between the two window frames, keeping the screen in place.
Then, the upper part of the roller screen can be positioned, which is already self-supporting:
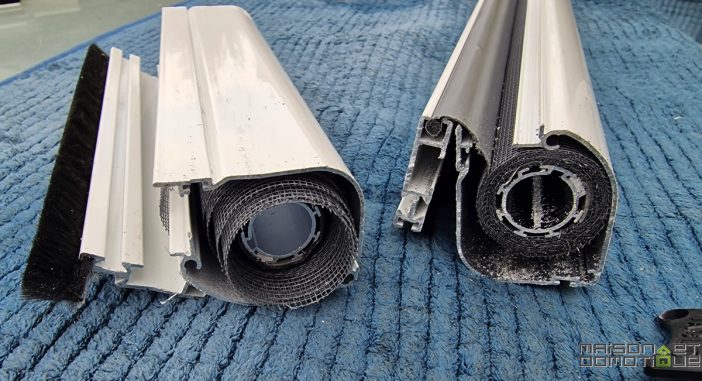
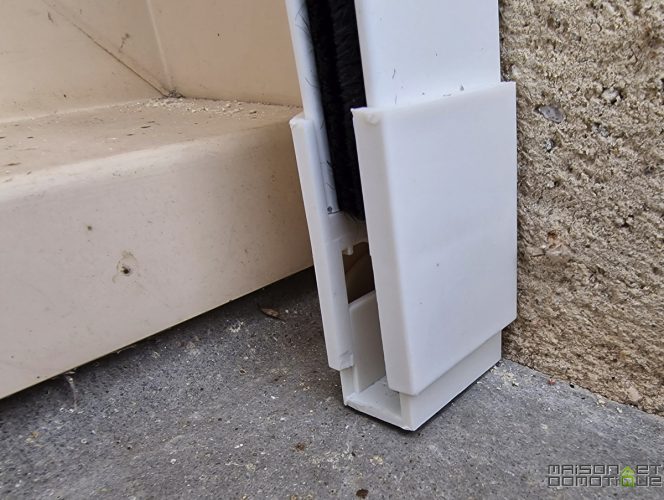
All that's left is to position the two side posts, which we cut to size earlier. They will guide the mosquito net while holding the box in place. But first, add the lower supports, which have a sticker that adds a grippy surface under the feet to prevent them from slipping on the window sill:
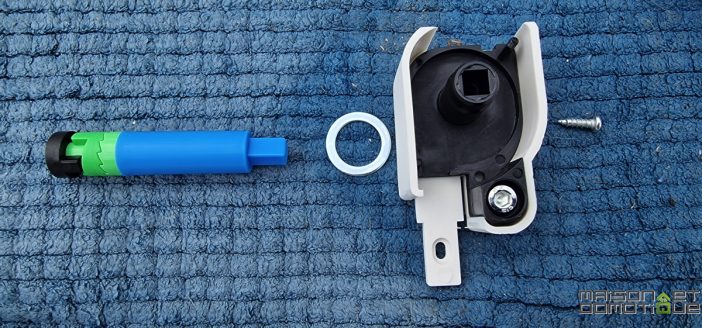
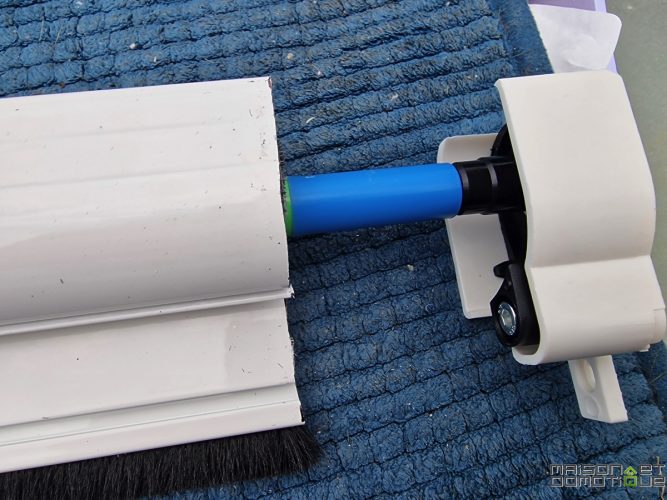
These supports also have a height adjustment system using a screw, which will allow you to compensate for any height difference. We'll come back to this later.
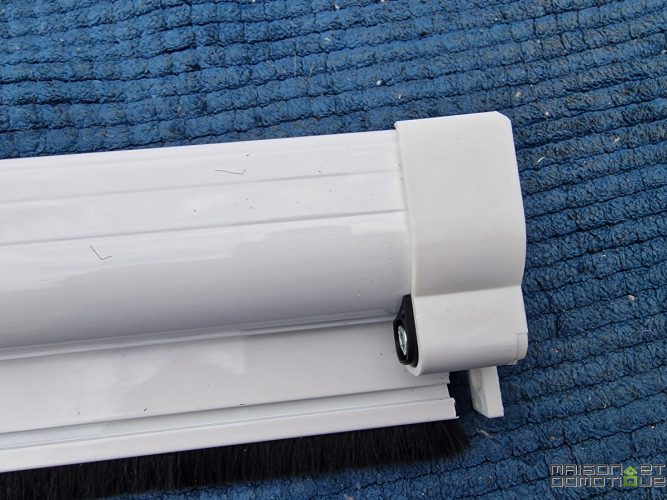
So, insert the side posts into these supports:
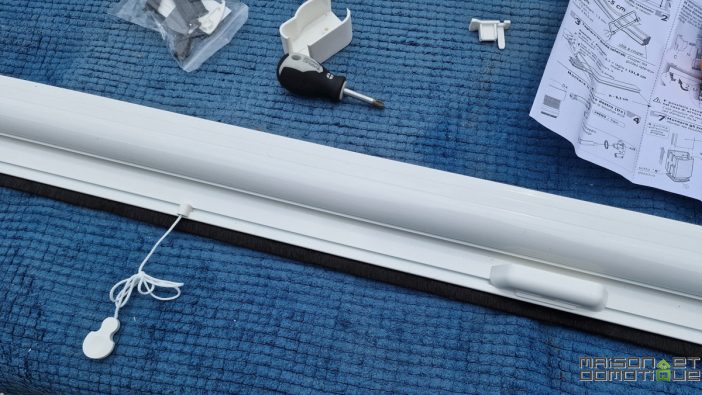
Then, insert them into the sides of the roller screen box:
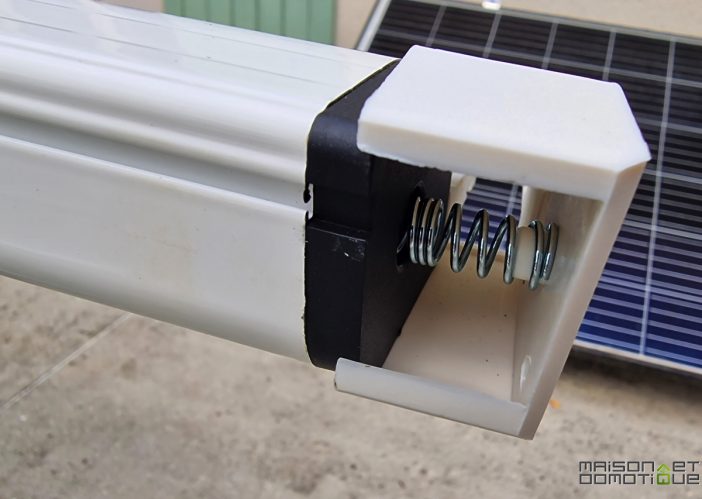
If there is a little play at the bottom of the posts, adjust it using the screw visible on each support:
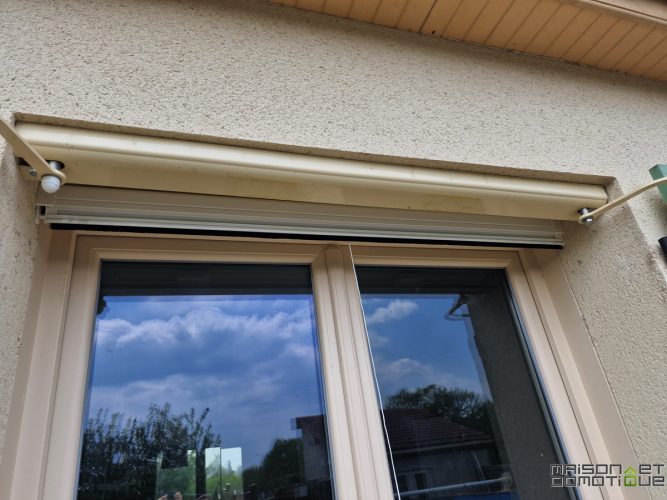
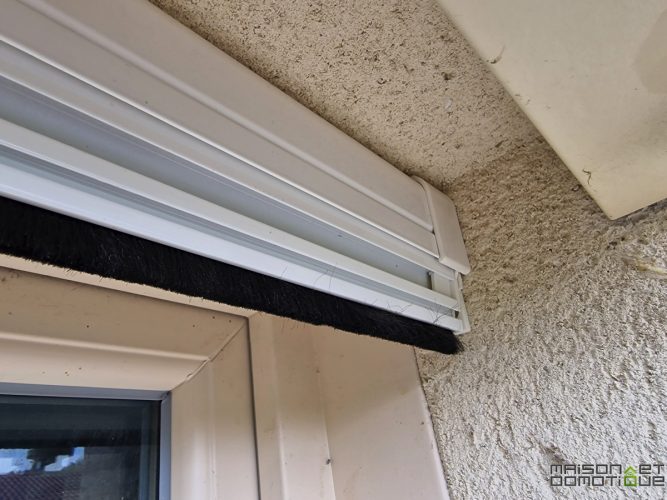
By adjusting this screw, it's possible to compensate for a height difference (tolerance of 10 to 20 mm). To avoid making the same mistake I did, be careful if your window sill slopes slightly outward. I did take the measurements along the window, but since my window sill slopes slightly afterward, I had a height discrepancy. Fortunately, the bracket adjustment makes it very easy to correct this.
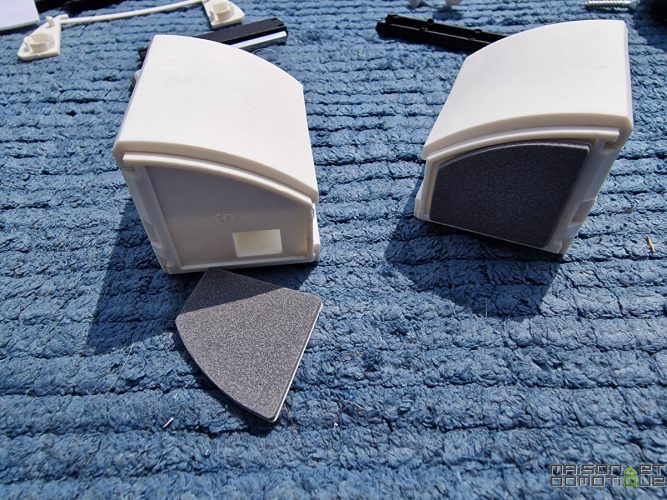
The same goes for the screen box, which has a screw on each side: this adjusts the tension between the two walls.
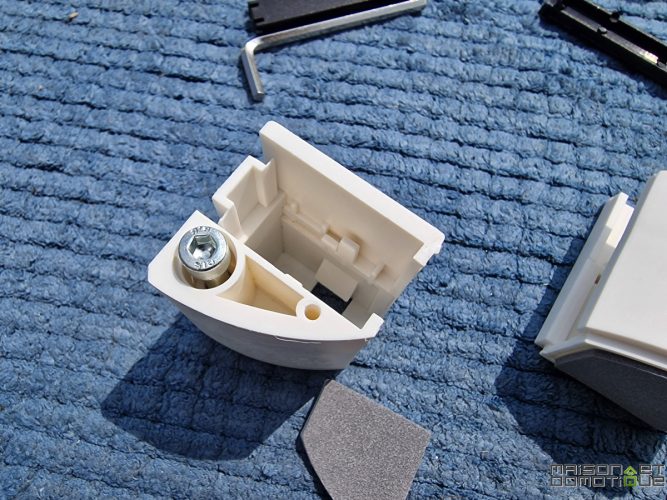
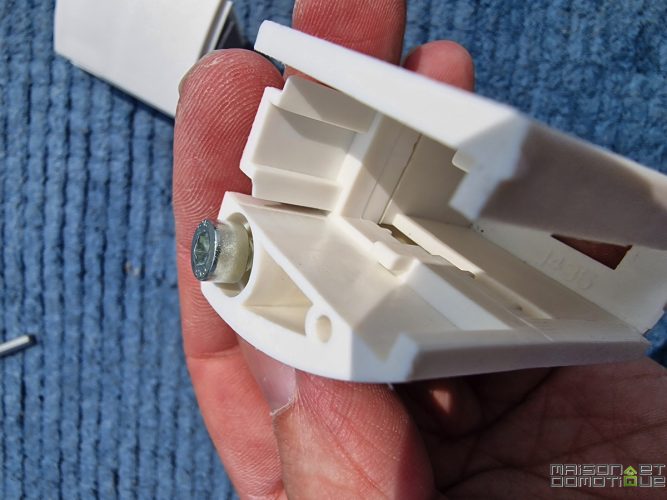
This system eliminates the need for drilling. Vertical and horizontal tension ensure the roll-up screen stays perfectly in place! You get a clean, quick result without having to use a drill (and without damaging the plaster ;-)
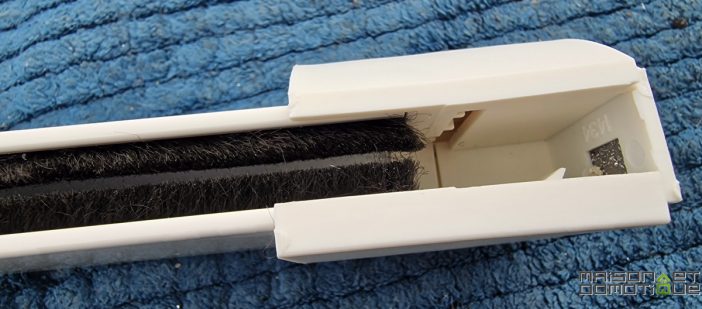
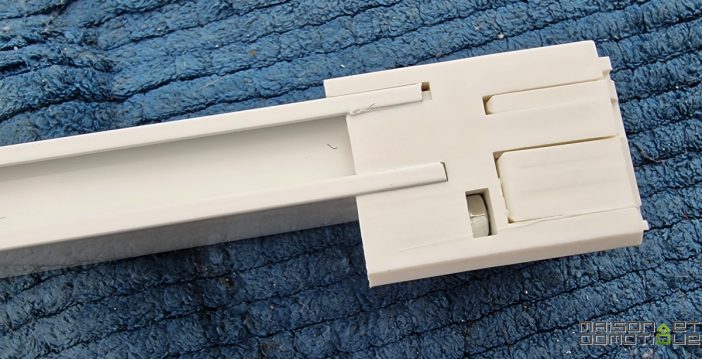
All that's left is the small white covers to put in place to hide the adjustment screws and perfect the look.
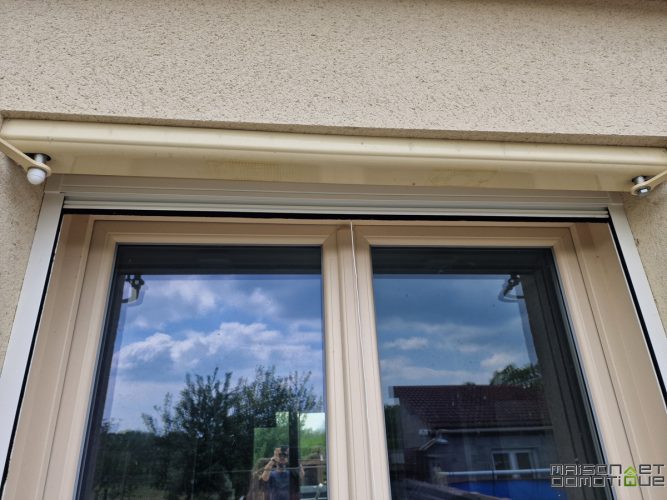
Final result and use of the roll-up screen
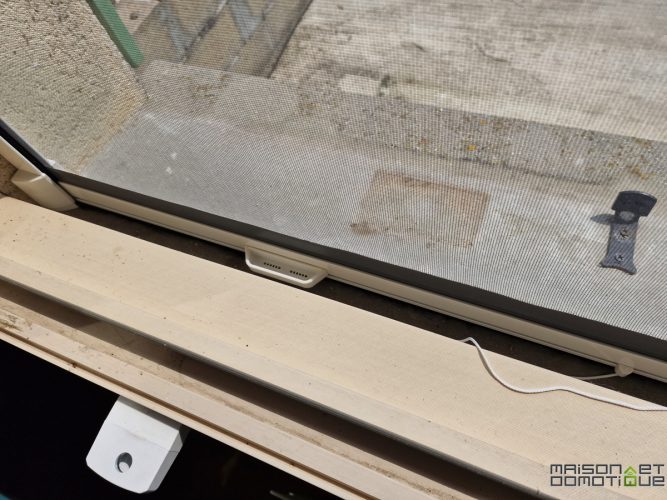
From the inside, the installation is just as clean. Simply pull the cord to unroll the screen.
The screen easily locks once it reaches the end of its extension, keeping it in place. To unlock it, simply twist the lower handles slightly to release it; the screen then rewinds automatically, with controlled winding thanks to the integrated brake.
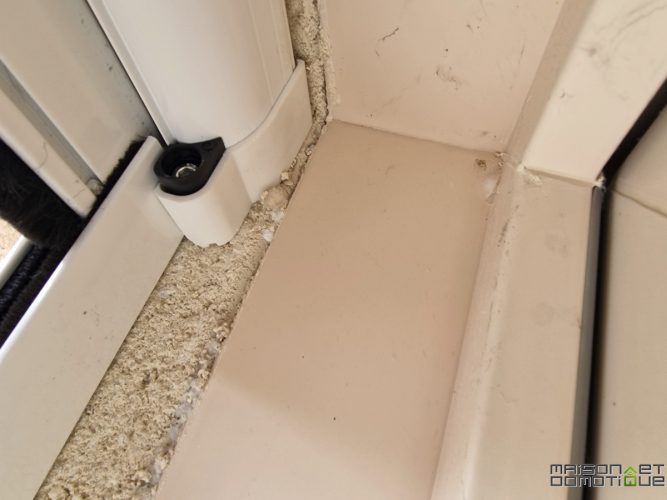
From the outside, the screen remains very discreet (especially when you have white PVC windows, but here it's not shocking).
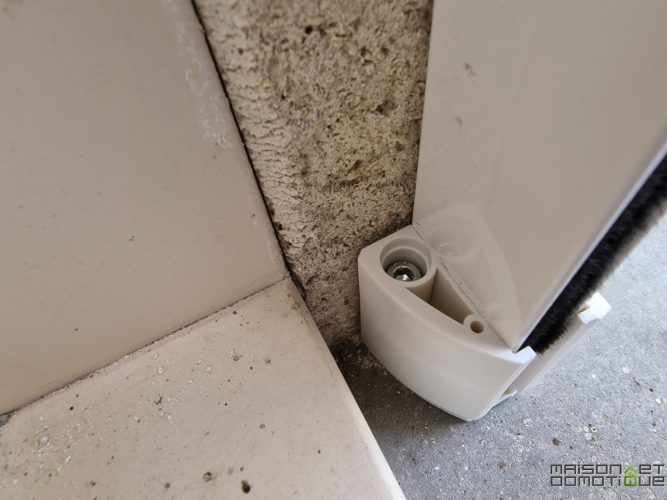
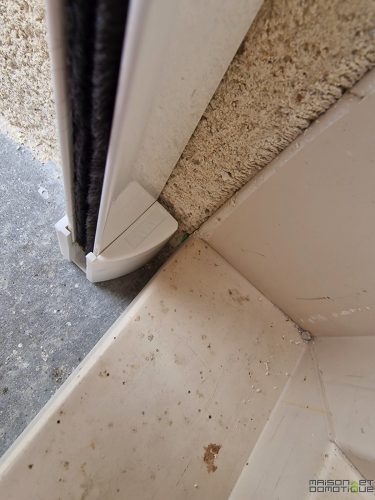
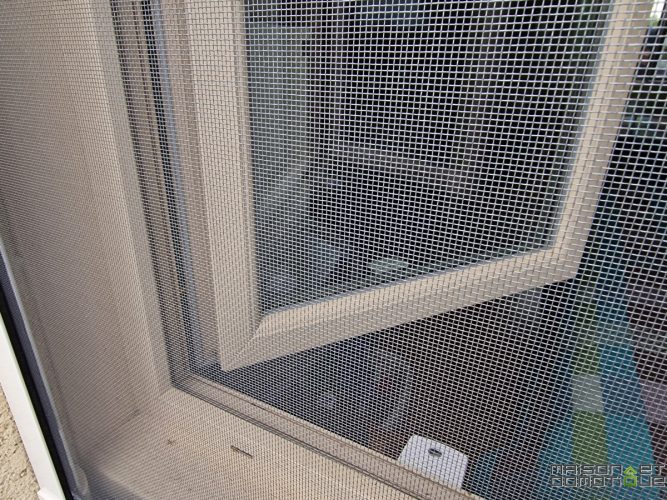
As you can see, the screen fits snugly against the window sill. No critters will get through!
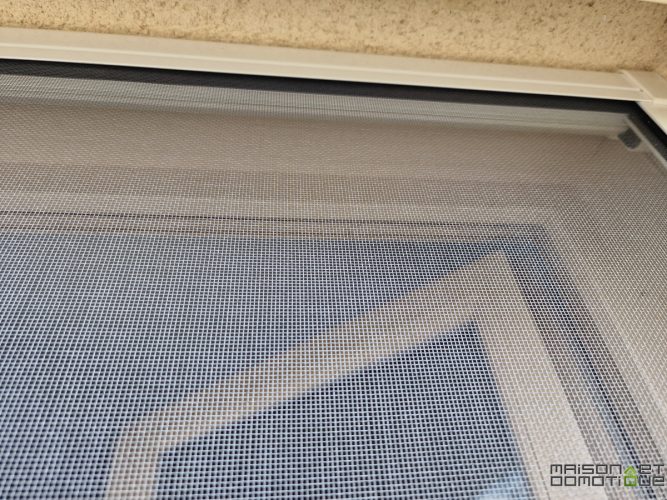
Unlike some magnetic or Velcro systems, here we have a fiberglass screen, tightly taut and very attractive, even when unfolded:
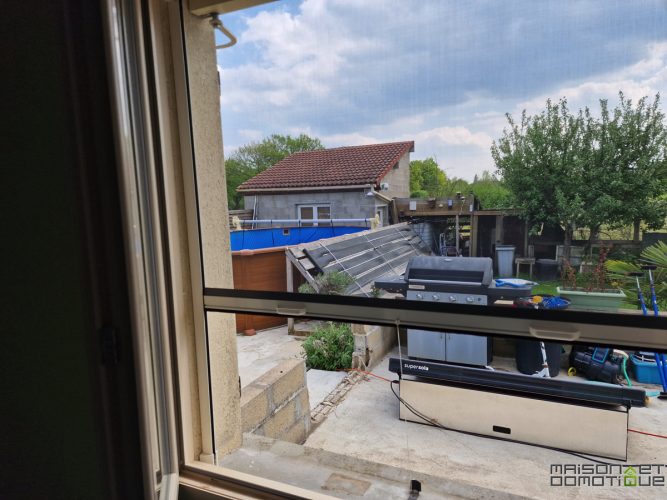
And above all, we maintain just as much visibility. We can see it here between the upper part where the mosquito net is deployed, and the lower part without it: a slight veil can be seen, but the view remains perfectly clear.
This is an important point, because some systems obstruct the view and reduce the brightness once installed. This is not at all the case here.
Conclusion
In the summer, we like to sleep with the window open, even if we have portable air conditioners when it's very hot. But an air conditioner is relatively noisy at night, and it consumes energy (and with the price of electricity today, we pay attention to that…). Opening the window to enjoy the fresh air at night is simple and costs nothing. Unfortunately, mosquitoes and other critters generally take advantage of this to sneak inside and quietly devour us while we sleep. With this roll-up mosquito net, no more problems! Installed for a little over a year now, it allows us to enjoy cool nights without the inconvenience of mosquitoes. And that's already great!
But I really like this screen because, as its name suggests, it's “premium.” It's indeed a very well-finished product, which fits on the window without spoiling its aesthetics, and which should have a long lifespan, thanks to its aluminum and fiberglass design. You don't hesitate to open and close it every day; it's sturdy. It's already survived its first winter installed, and is starting the new season. Despite the lack of drilling, it holds perfectly in place. Moreover, its installation is very simple and requires no work. Even though the screen is designed to stay in place all year round, the day you want to remove it, it won't leave any trace of its presence.
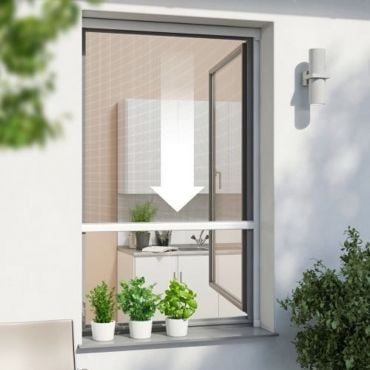
Of course, such a well-finished product is more expensive than the gadgets you see in supermarkets in the summer, but it will undoubtedly have a much longer lifespan. Available in white and gray, this mosquito net starts at €124.90. But thanks to our partnership with ProtectHome, you can enjoy an 8% discount using the code DOMOMOUSTIK, which brings the price of the net down to just €114 (this code is also valid for all other mosquito repellent products).




Please remain courteous: a hello and a thank you cost nothing! We're here to exchange ideas in a constructive way. Trolls will be deleted.