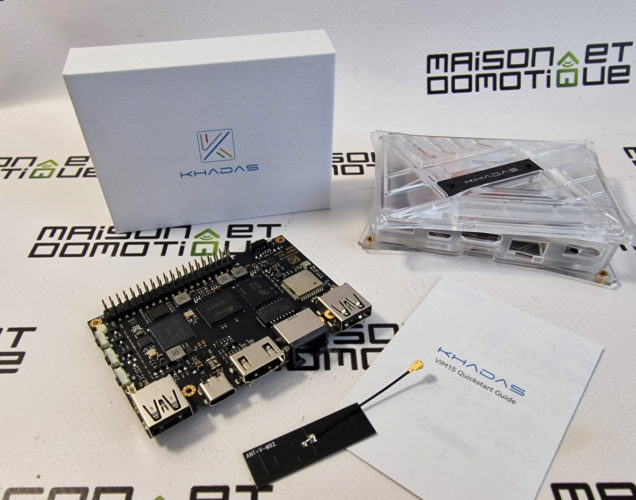
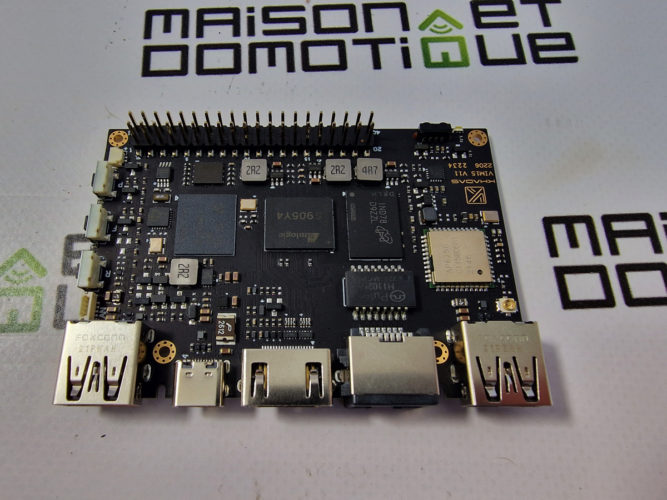
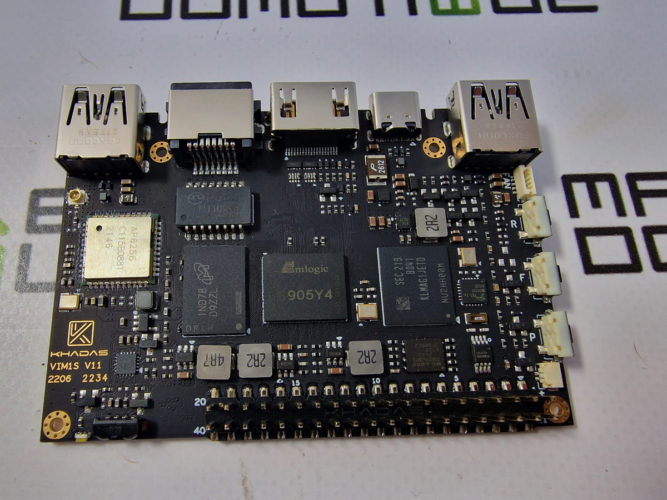
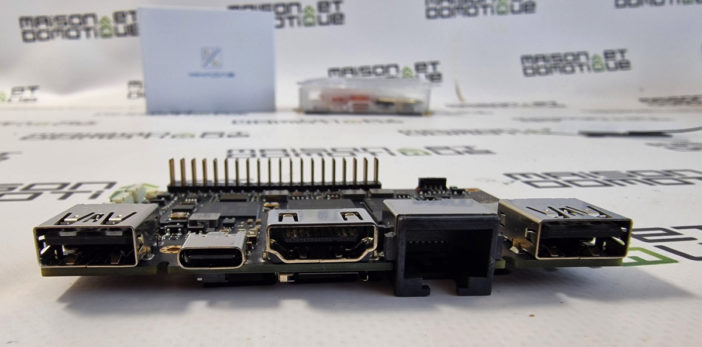
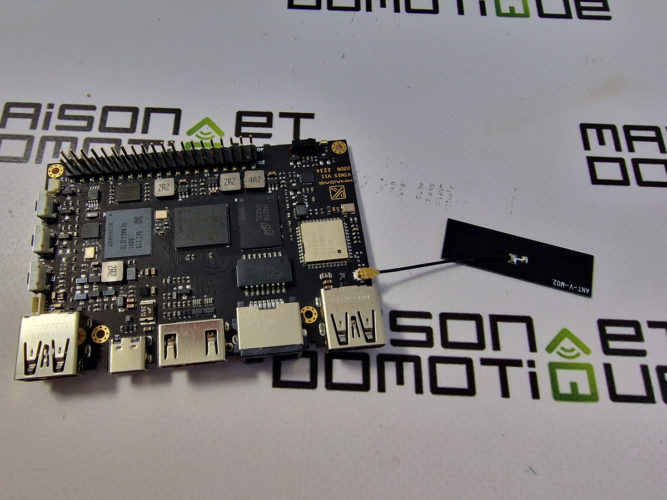
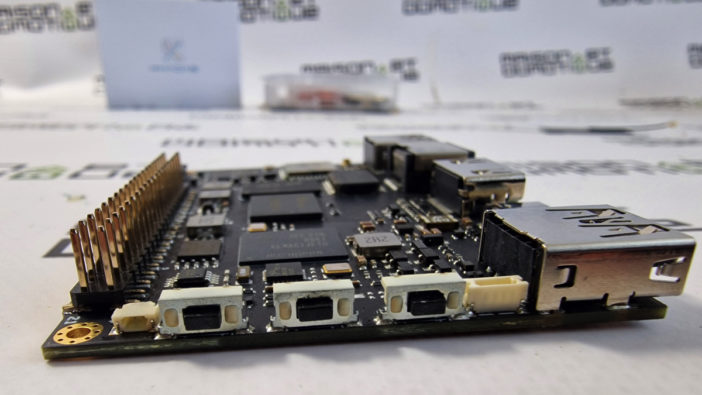
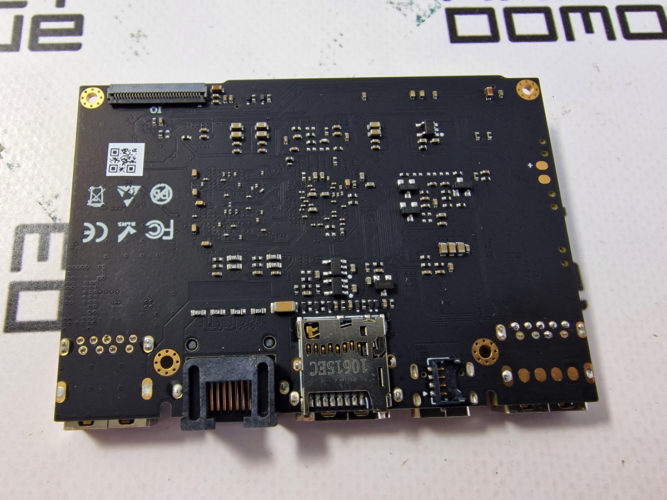
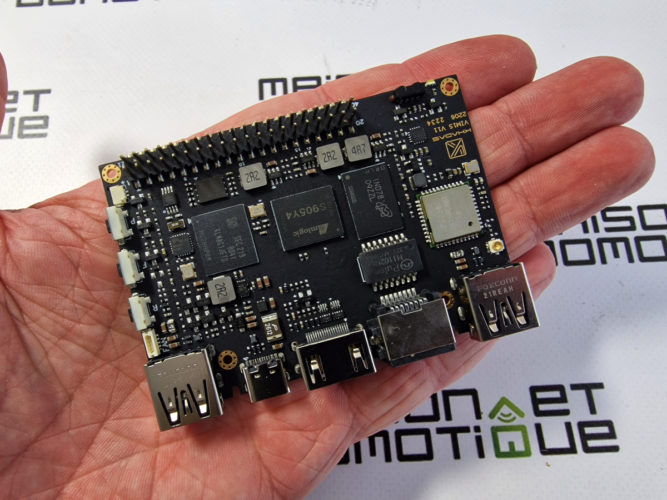
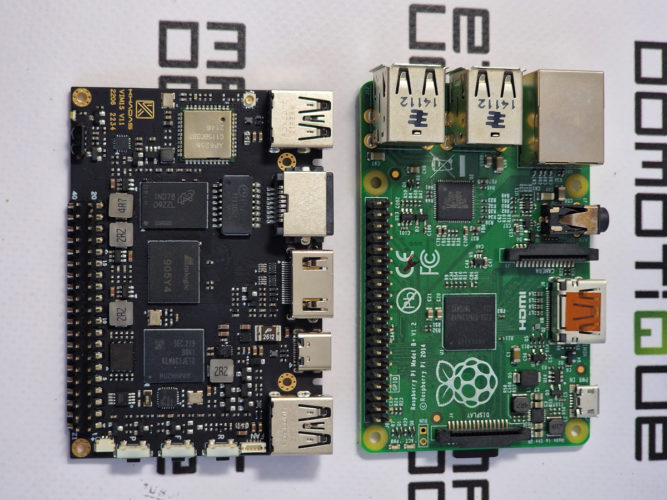
We've already talked many times about the Raspberry Pi, this mini computer that can be used to build a multimedia box, a retro gaming console, or of course, a home automation box. Unfortunately, the Raspberry Pi regularly suffers from stock shortages and even skyrocketing prices. Fortunately, there are a few alternatives on the market, such as the Khadas VIM1s, which I invite you to discover. I'm going to introduce you to the Khadas VIM1s, which can be installed with Home Assistant to make it a very affordable home automation box.Introducing the Khadas VIM1s Khadas is a manufacturer of microcomputers like the Raspberry Pi. The company offers many versions, with varying degrees of power. In this case, we're talking about the Khadas VIM1s, which is the most affordable, costing around €70. Despite this very affordable price, this is a powerful card, as it's still equipped with a quad-core Cortex-A35 processor clocked at 2 GHz, accompanied by 2 GB of DDR4 RAM. For comparison, a Raspberry Pi 3 offers a quad-core Cortex-A53 processor clocked at 1.2 GHz and only 1 GB of RAM.The video processor is no slouch either, as the Khadas VIM1s is equipped with an ARM Mali-G31 chip clocked at 850 MHz, capable of outputting 4K at 60 fps. The HDMI 2.1 output is also compatible with HDR10, HDR10+, and HLG HDR, making it perfect for a media center! The connectivity is also very comprehensive, with, in addition to the 4K HDMI output, two USB-A ports, one USB-C port, a 100M Ethernet port, a 40-pin GPIO port, and a 30-pin IO port. Let's not forget an IR receiver and a connector for a Wi-Fi/Bluetooth 5 antenna (included).On the side, there are three buttons for power, reset, and function. In terms of storage, the Khadas VIM1s accepts microSD cards. But more importantly, it natively integrates 16GB of eMMC memory, which is much more stable than a microSD card, which often ends up corrupted after too many memory writes. Perfect for a home automation box! With its dimensions of 82x58mm, the Khadas VIM1s is the size of a credit card: And it has the same dimensions as a Raspberry Pi. However, it won't be compatible with Raspberry Pi cases, as the ports are arranged differently:
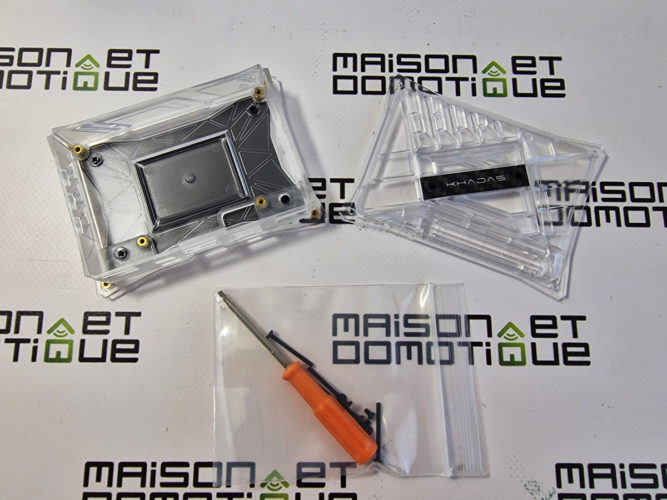
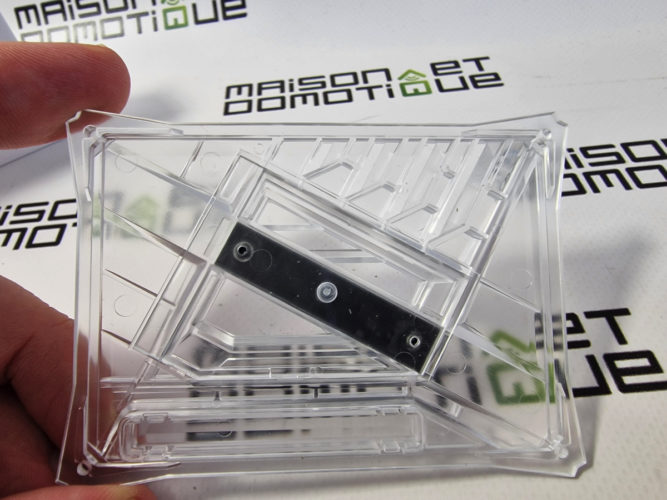
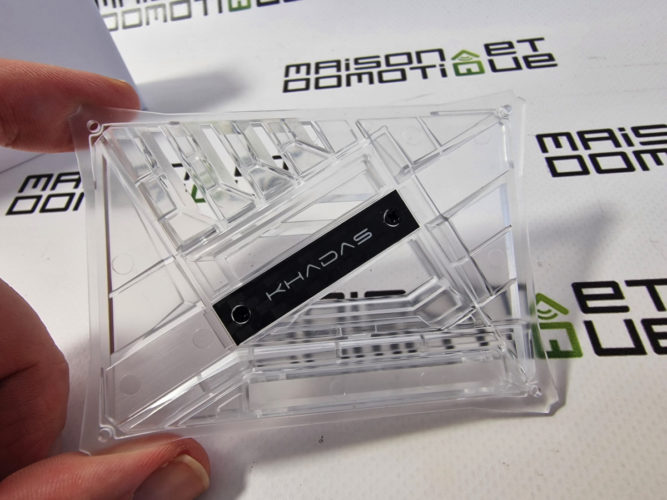
Fortunately, the manufacturer has provided various accessories, including a very practical case:
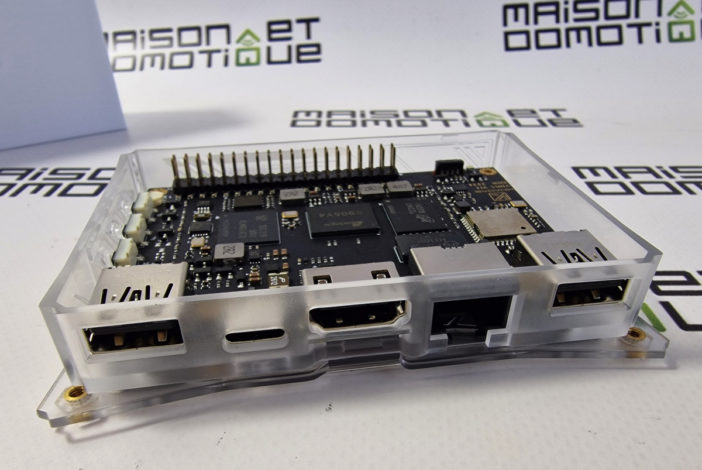
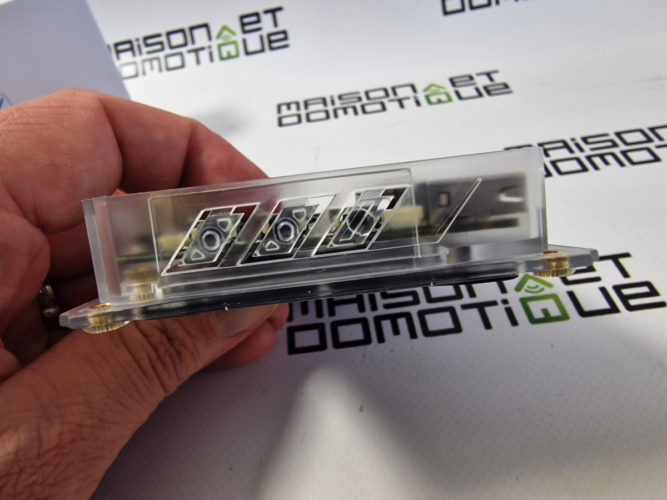
It is, of course, designed specifically for the Khadas VIM1s: So much so that it has small buttons on the side to operate those on the mini computer:Its cover is also designed to accommodate the Wi-Fi antenna.
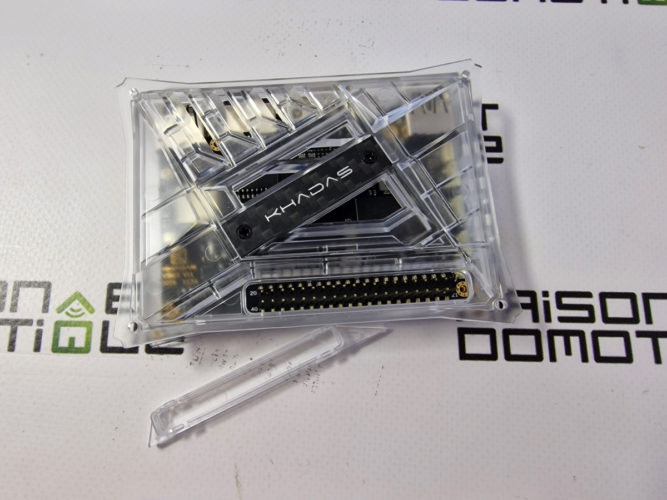
And various openings can be made to access the various ports, such as the GPIO port:
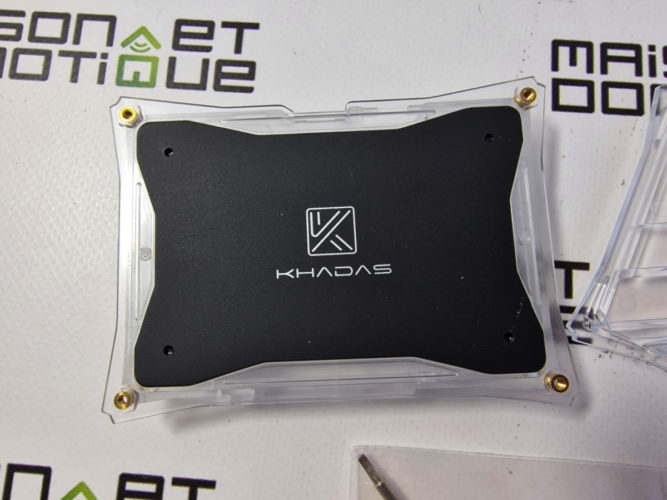
Finally, the back has a metal plate allowing the case to be attached behind a screen or any other support:
This case therefore allows for quite complete versatility depending on the projects you wish to carry out.
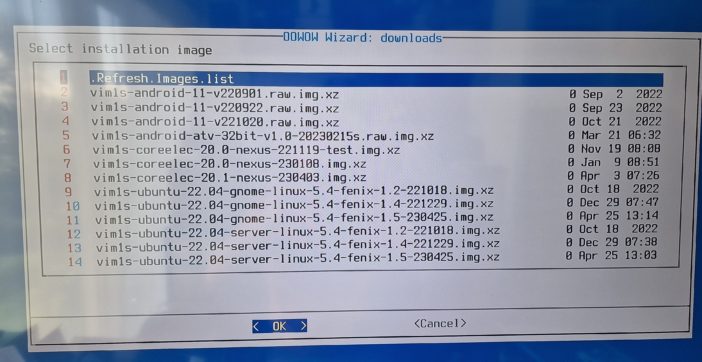
Lastly, regarding the software: this Khadas VIM1s integrates the manufacturer's OOWOW system. As soon as VIM1s launches, we're offered the option to install an Android operating system (11), a CoreElec operating system (derived from the popular Kodi for creating a media center), or an Ubuntu Linux distribution:
The operating system is then downloaded and installed. You don't need to be a computer expert to get started quickly with this machine, which is very useful!
Install Home Assistant on Khadas VIM1s in 10 minutes
One of the Raspberry Pi's strengths is undoubtedly the abundance of available system images. Many are even offered natively via the SD card formatting software. Unfortunately, there are fewer ready-made images for the Khadas. At least for now. But things are increasingly being implemented, such as the version of CoreElec offered by the OOWOW launcher, allowing you to create a media center in a few minutes. But after a little searching, I also found
this Home Assistant image
, which allows you to install the home automation system very easily in a few minutes, and in its full version (with a supervisor).
Simply download the image, then copy it to a Fat32-formatted USB drive (without unzipping it; leave the file as is).
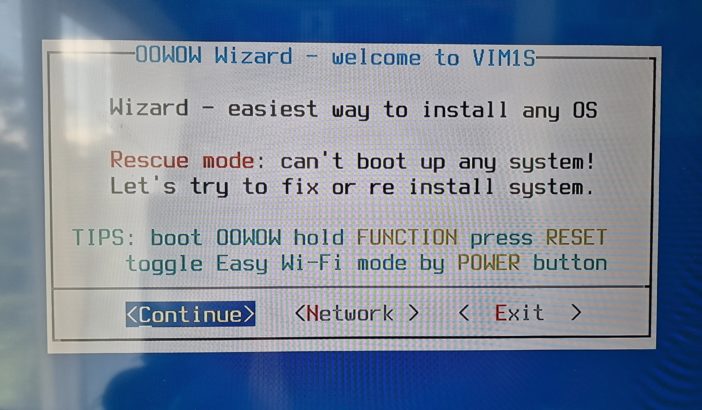
Then insert the USB drive into the Khadas VIM1s, connected to a screen, a keyboard, and if possible, an Ethernet network cable. All connected, of course, to a USB-C power supply (most smartphone chargers will do the trick). The VIM1s will then boot:
On the home page, click “Exit” to exit the wizard, which we don't need here.
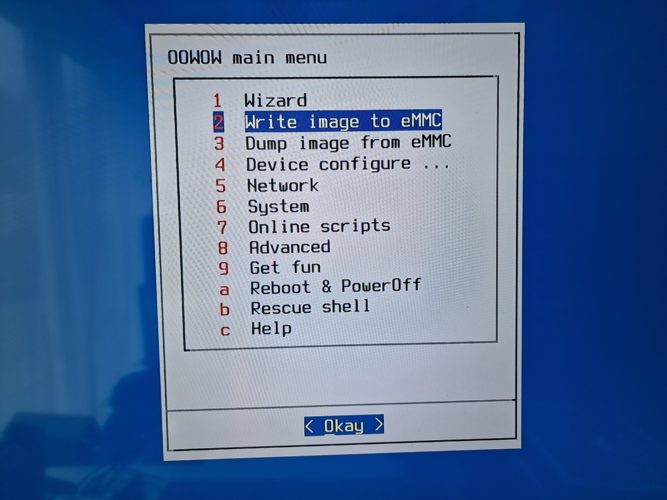
Then select “Write image to eMMC”:
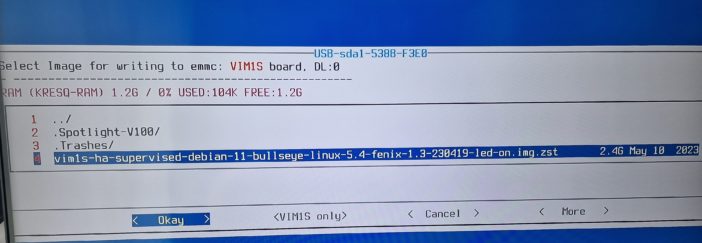
And search for the file downloaded above on the USB drive:
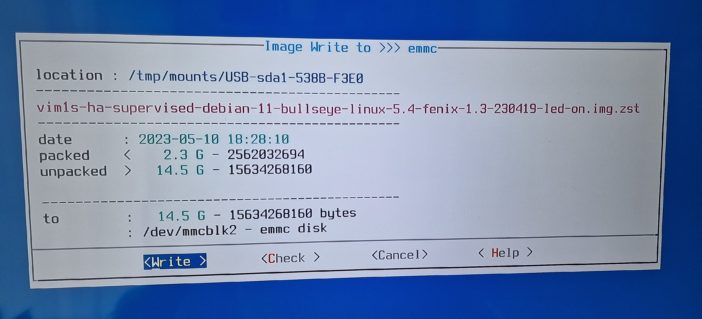
The system then confirms that our 2.3GB file will be 14.5GB once unzipped. Confirm with “Write” to start writing the image to the Khadas VIM1s's eMMC memory.
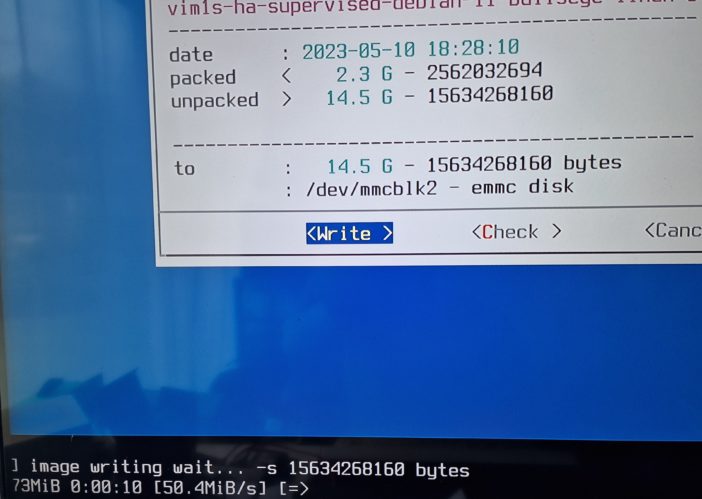
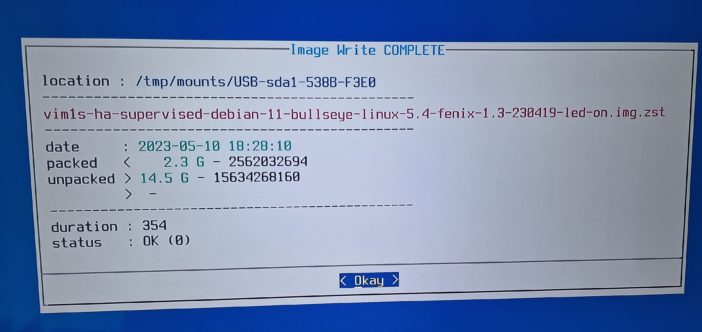
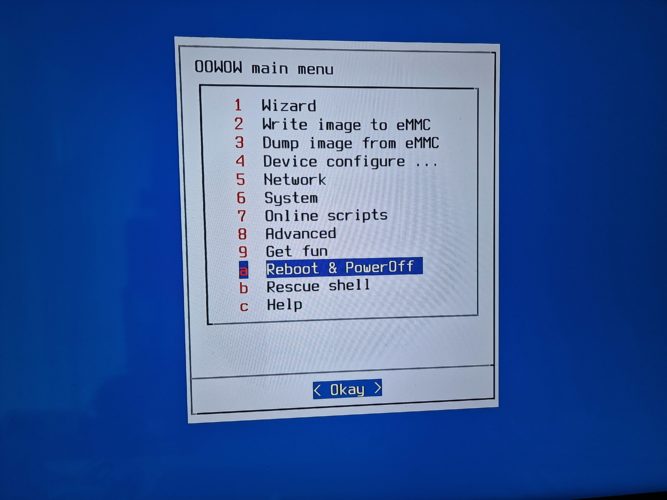
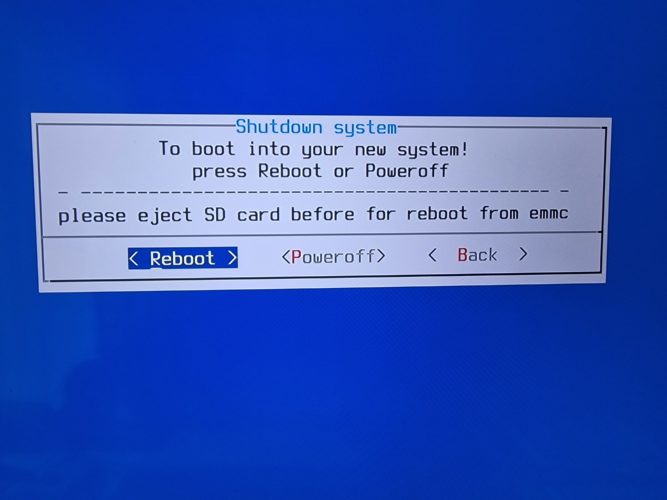
You can monitor the progress at the bottom of the screen: Once the copy is complete, a screen confirms the operation was successful. In this case, the writing took just under 6 minutes. Click “Okay,” then go to the “Reboot & PowerOff” menu: Then click “Reboot” to restart the Khadas VIM1s. You can remove the USB drive; it's no longer needed.
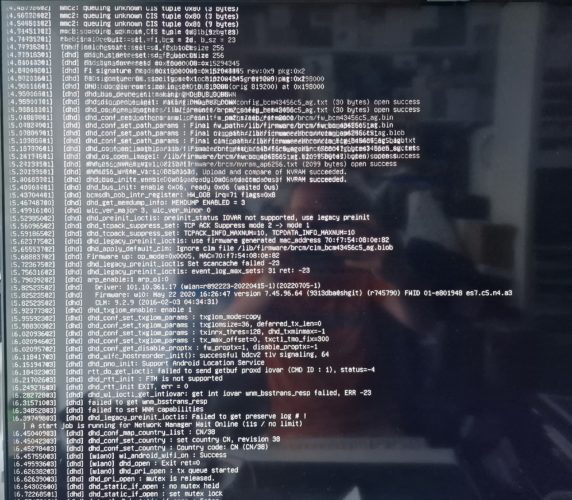
Upon reboot, a series of lines appear: let them scroll; Home Assistant takes a few seconds to start:
Please note that this image has two default logins: root / root, and pi / pi. You will need to change these default passwords for security reasons.
If the VIM1s is connected with an Ethernet cable, you can retrieve its IP address using the command ip addr showor find it through your router.
You can also configure Wi-Fi if you prefer, using the commands

nmcli dev wifi rescan
nmcli dev wifi list
nmcli dev wifi connect “your_wifi_network” password “your_wifi_password”
ip addr show
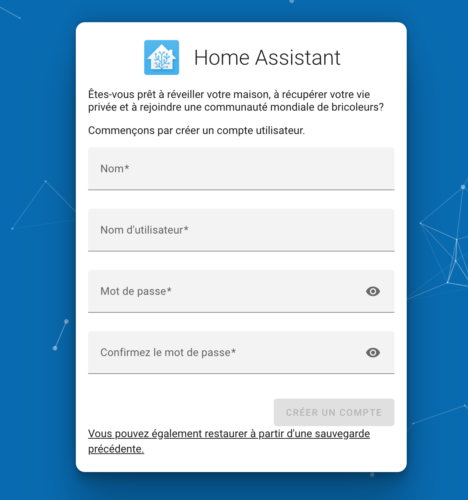
All that's left is to log in from a web browser on the same network at the address IP_VIM1s:8123. We arrive at the Home Assistant homepage, which invites us to create the first user:
Once this is done, we'll immediately update Home Assistant via the Settings / System / Updates menu:
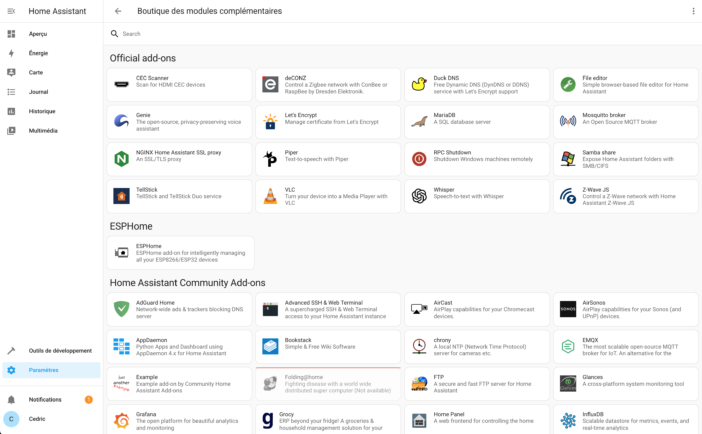
We can then configure our system as we wish, adding add-ons, etc. This is the advantage of having a complete version of Home Assistant, unlike just a Core version, as was the case until recently on this VIM1s:
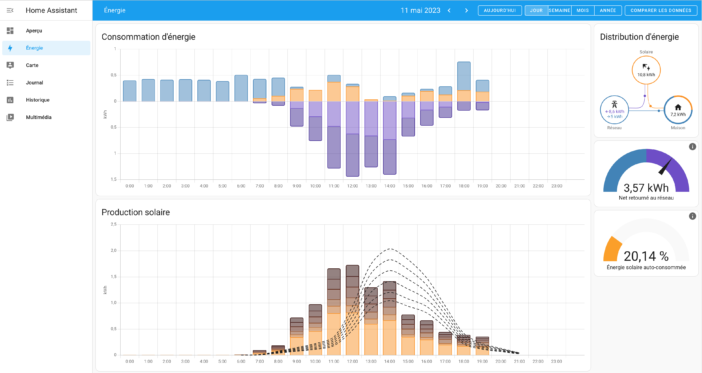
Here, I'm using it to retrieve data from my Sunology and Beem solar stations via OpenDTU and MQTT, as well as my total power consumption via a Shelly EM module:
You can of course add various USB dongles to control other home automation protocols, such as Zwave or ZigBee, for example:
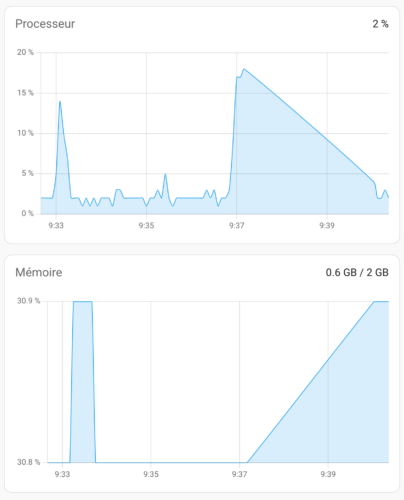
You will then have a very complete home automation box. The Khadas VIM1s consumes barely 3W, and as you can see, the system is far from utilizing the full performance of the microcomputer:
Conclusion
This Khadas VIM1s has been running at home for a few weeks now, and I must say it's an excellent alternative to the Raspberry Pi! Especially since it's very difficult to find any Raspberry Pi at the moment, as seen at this official reseller:





Please remain courteous: a hello and a thank you cost nothing! We're here to exchange ideas in a constructive way. Trolls will be deleted.