So, you’ve decided to splurge on one of those budget projectors flooding the market? Well done! But don’t stop there. With a few well-thought-out adjustments, you’ll turn your smart purchase into a true cinematic gem. Gone are the dull and blurry images; it’s time for a grand spectacle! In this guide, I will reveal all my little secrets to make the most of your new gadget without breaking the bank. Because often, a well-adjusted “low-cost” projector can deliver a better image than a poorly adjusted high-end model. Ready to wow your friends at your next movie night? Let’s go!
Choosing the location: the foundation of a top image
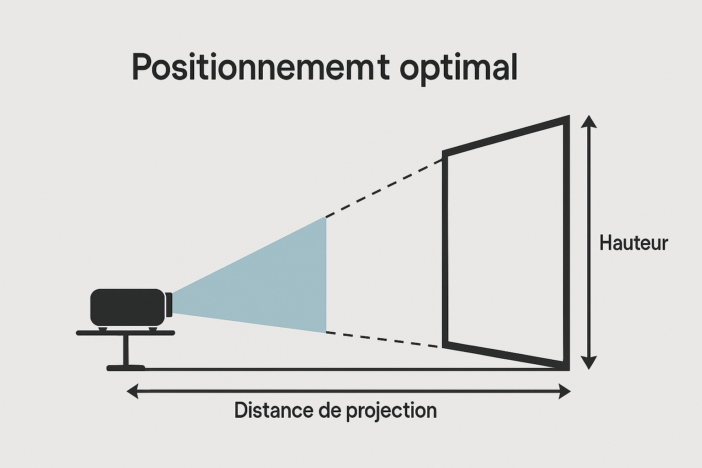
Before even touching the settings, make sure to position your projector properly. A good location is half the battle! Aim for a smooth white wall or, better yet, a dedicated screen. Avoid textured surfaces that could distort the image.
The distance is crucial: too close, the image will be small; too far, it will lose quality. Check the manual to know the ideal projection ratio. Generally, for a 100-inch screen, count on about 3 meters of distance.

Also, pay attention to ambient light! The darker the room, the more vibrant the image will be. So, close the curtains and turn off the lights for an amazing cinema atmosphere.
Focusing: a meticulous adjustment
Once properly set up, let’s move on to focusing. This is the key step for a sharp image! Most budget projectors have a manual focus dial. Turn it gently until you achieve a perfectly defined image.
Pro tip: display a text or test pattern to assist you. Focus on the center of the image; that's where the magic happens! If the edges remain slightly blurry, don’t panic; it’s normal for entry-level models.
It’s worth noting that today you can find very affordable models with autofocus, or even automatic trapezoidal adjustment, like we have seen on the Wanbo Mozart 1 Pro or the Eteo Seal Pro, for example.
The trapeze effect, your best enemy
Ah, the infamous trapeze effect! You know, when the image looks more like a trapezoid than a straight rectangle. It’s the nightmare of any self-respecting home theater enthusiast. Fortunately, most modern projectors come with automatic correction. Enable it in the settings and watch the magic happen!
If your model doesn’t have this feature, don’t worry! Play with the projector’s tilt or use manual correction. However, be careful; excessive correction may slightly degrade image quality. The best solution is still to position your projector directly in front of the screen, at the right height.
For example, on the Wanbo Mozart 1 Pro, all adjustments are made automatically as soon as it’s turned on. Quite impressive for 250€…
Image settings: the secret to stunning rendering
Now, let’s get to the heart of the matter: image settings. This is where the magic truly happens! Start by selecting the most suitable image mode. “Cinema” or “Movie” are often good choices for a natural rendering.
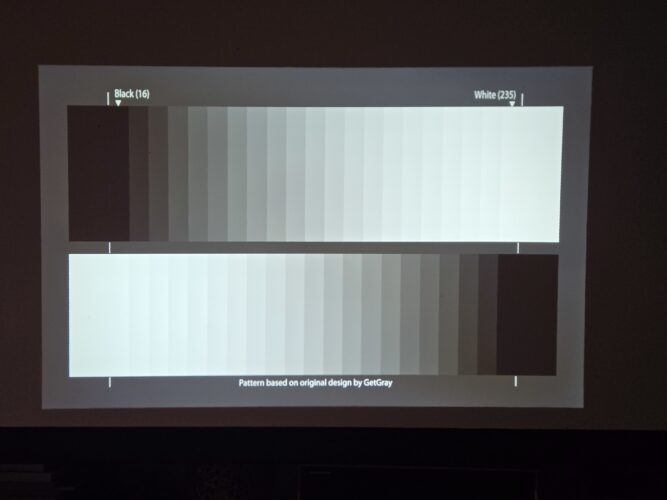
Next, let’s tackle brightness and contrast. Brightness controls the dark areas, while contrast deals with the bright areas. Gradually increase the brightness until you can distinguish details in the shadows without the black turning gray. For contrast, look for the point where the whites are bright without being “blown out”.

Color saturation depends on your taste. Personally, I prefer a natural rendering over garish colors that strain the eyes. Adjust until you achieve realistic skin tones.
Don’t forget sharpness! A little can help make the image crisper, but be careful not to overdo it. Too much sharpness creates an unpleasant artificial effect.
You can easily find free test patterns on the internet to assist with adjustments, such as on this site.
Resolution and refresh rate: tune your instruments
Your budget projector is likely limited to 1080p. Make sure your source (Blu-ray player, gaming console, etc.) is set to this resolution. A mismatch could cause unsightly artifacts.
As for the refresh rate, 60 Hz is the safe bet. Some models support 120 Hz, but be cautious of incompatibilities! If in doubt, stick with 60 Hz; you won’t be disappointed.
HDR: beware of the trap!
HDR (High Dynamic Range) promises wonders, but on an entry-level projector, it’s often more of a problem than a solution. These devices usually lack the brightness to take full advantage of it. The result: a dull and lackluster image. My advice? Disable HDR in your source settings. Paradoxically, you’ll get a brighter and more contrasted image!
Maintenance: your ally for a consistently top image
A small piece of advice for the road: take care of your projector! A clean lens ensures a sharp and bright image. Use a soft cloth and suitable products to clean it regularly. For my part, I’ve been using Ecomoist for many years to clean all my electronic devices.
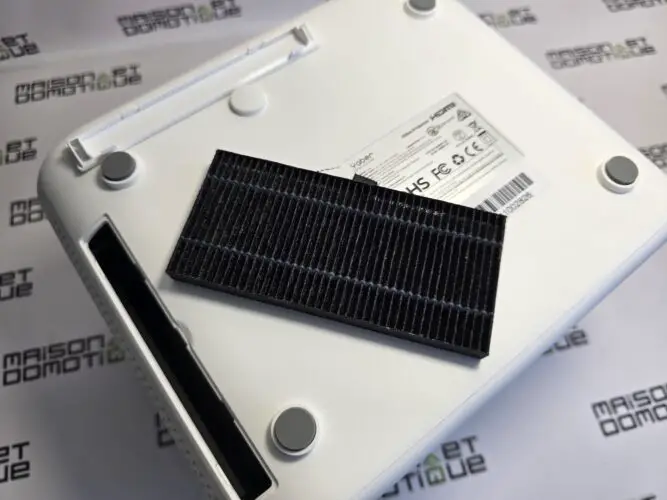
Also, check the dust filters and clean them if necessary. Your projector will thank you by providing years of impeccable projection!

Conclusion: enjoy the show!
And there you have it! With these meticulous adjustments, your budget projector is going to impress. You see, there’s no need to break the bank to enjoy a cinema-like experience at home. So, get comfortable, prepare the popcorn, and let yourself be swept away by the magic of the big screen. Enjoy watching!
Don’t forget: perfection comes with time. Feel free to fine-tune your settings over the course of your viewing sessions. And most importantly, have fun! After all, that’s what matters most, right?


Please remain courteous: a hello and a thank you cost nothing! We're here to exchange ideas in a constructive way. Trolls will be deleted.